
With everything else off, I removed the pistons and crankshaft. Not a lot of pictures for today - it took a while because there were a LOT of bolts to remove and getting the pistons out was a bit tricky but essentially I did almost the same thing 8 times.. This part of the procedure was the most nerve racking because I was really worried about scratching the cylinder walls - as far as I can tell I didn't, but I did drop a piston on the floor, so it looks like I'll be replacing at least one piston!
|
|
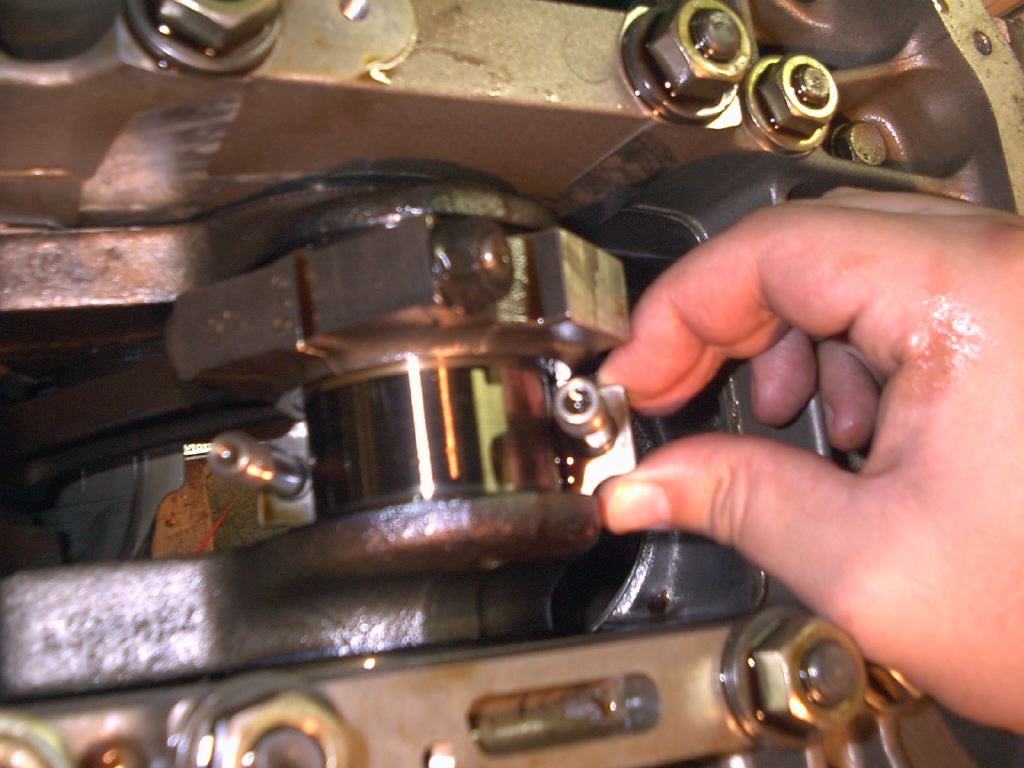
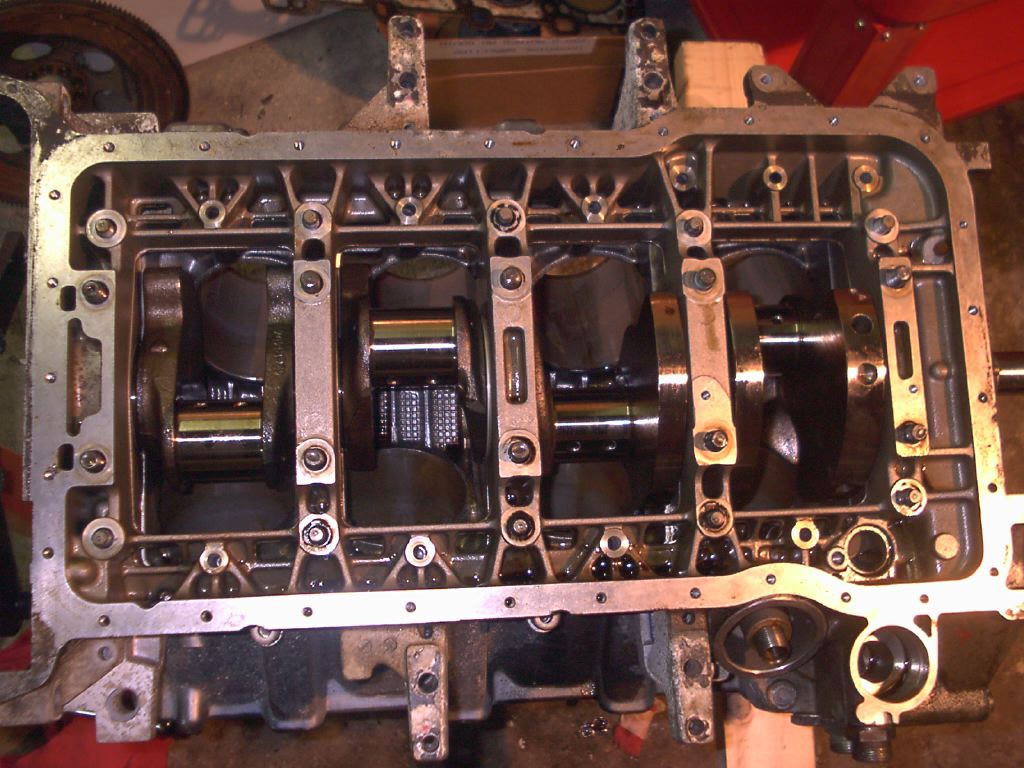
First I removed the rod caps. |
|
|
| After removing the rod caps, I wrapped rags around the rod bolts to prevent scratching the crank and the cylinder walls. |
|
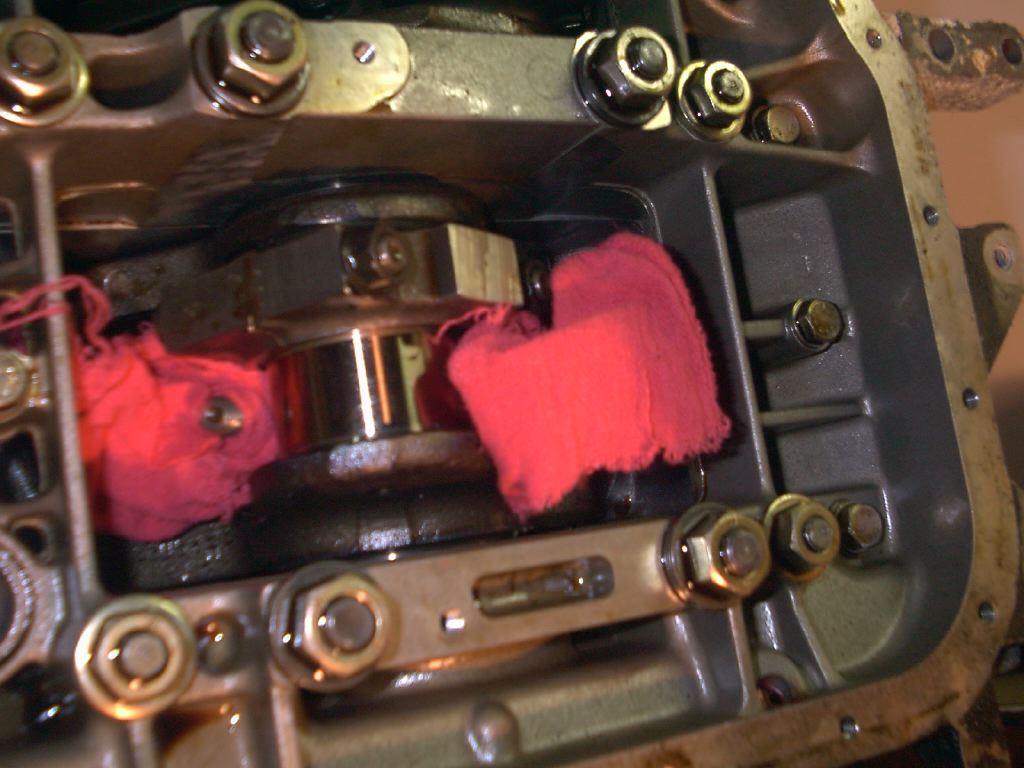
Here's all the rod caps removed, note all the rag ends! |
|
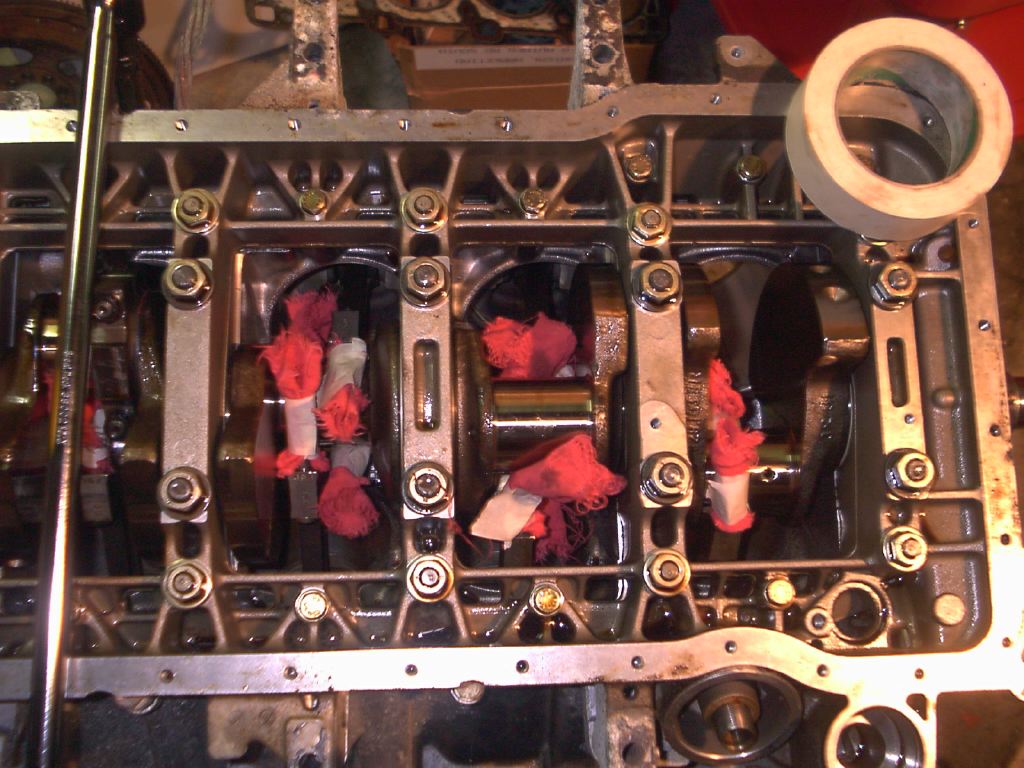
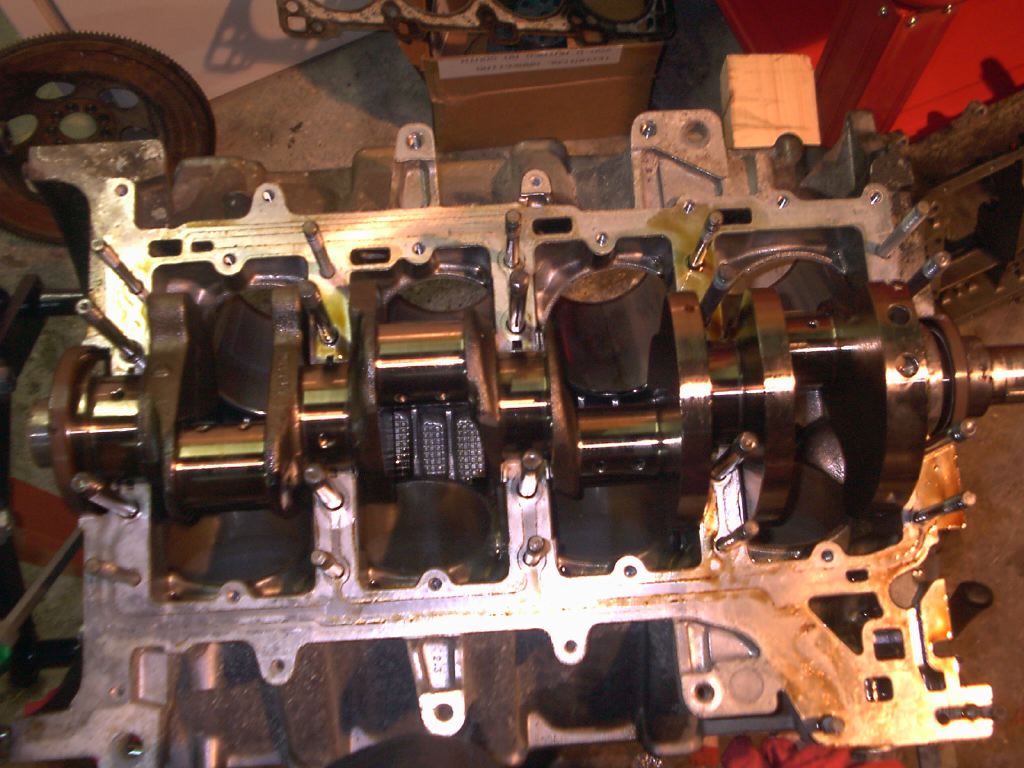
| Here's the crank case with all the pistons removed. Next time I do this, I plan to have a helper. It isn't really hard to get the pistons out but it does require some force and it would have been nice to have someone to guide the piston head out. Kinda like giving birth! |
|
Next I removed about 45 bolts from the bottom of the crank case and the outside of the crankcase. Being careful to follow the bolt pattern in the shop manuals. |
|
| Getting the lower crankcase off is definately a job for two people - I kept having one side slip back down as I raised the other. Eventually I used rags to keep the piece level. |
|
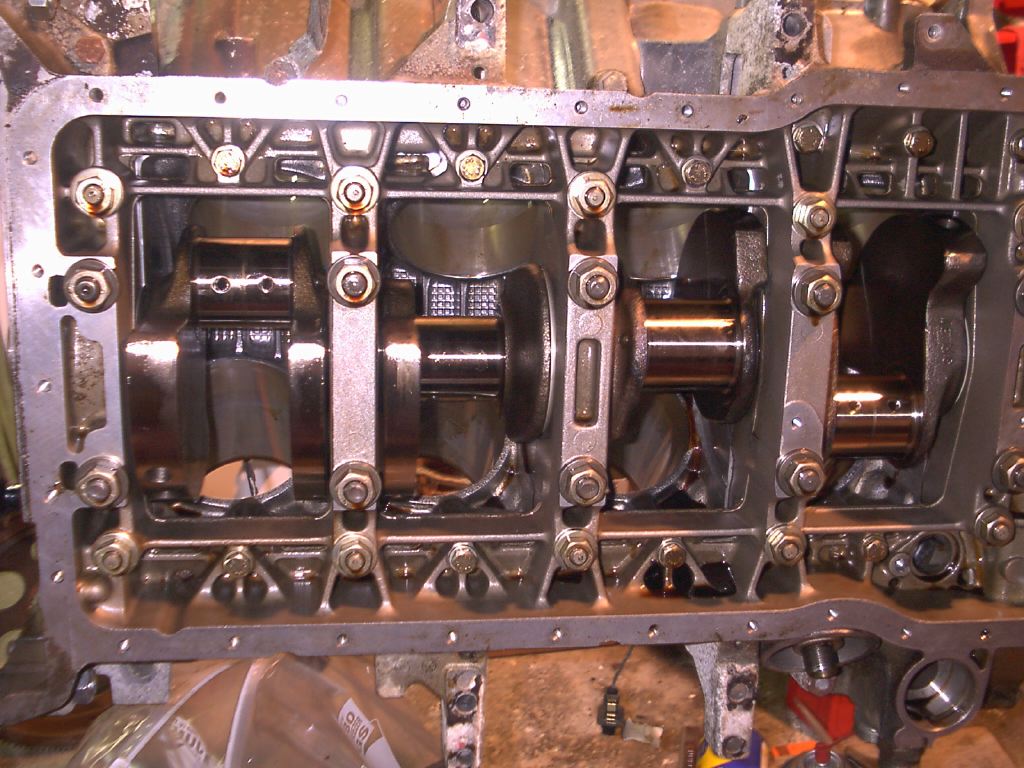
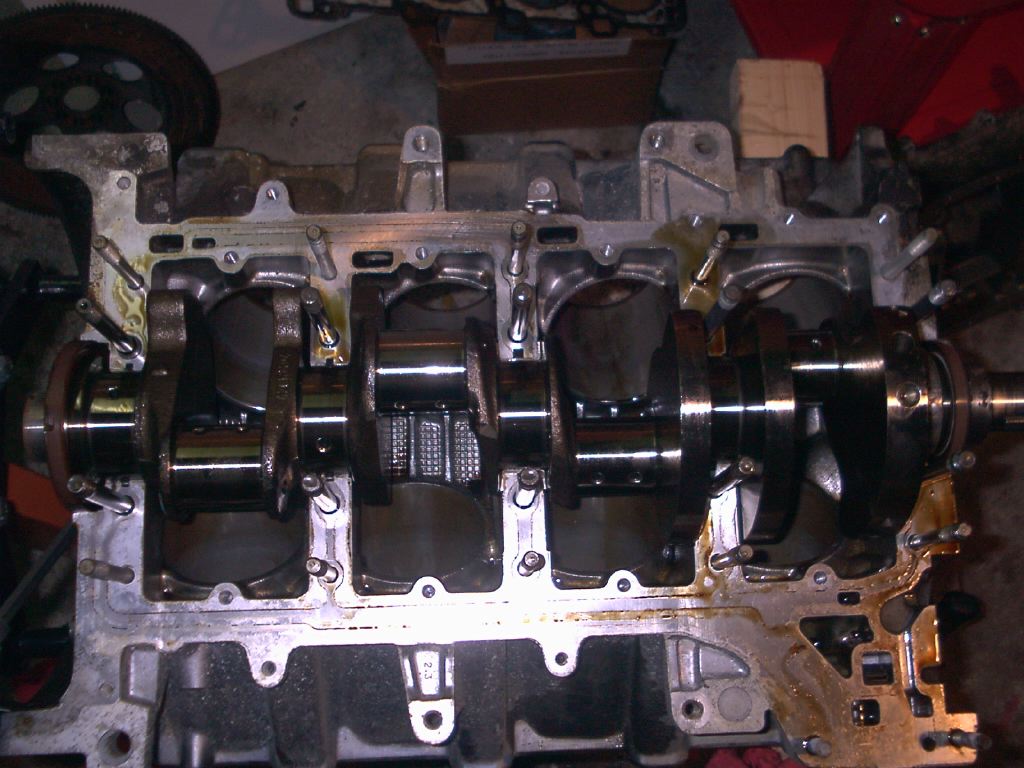
Here's another shot of the crank basking in freedom! |
|
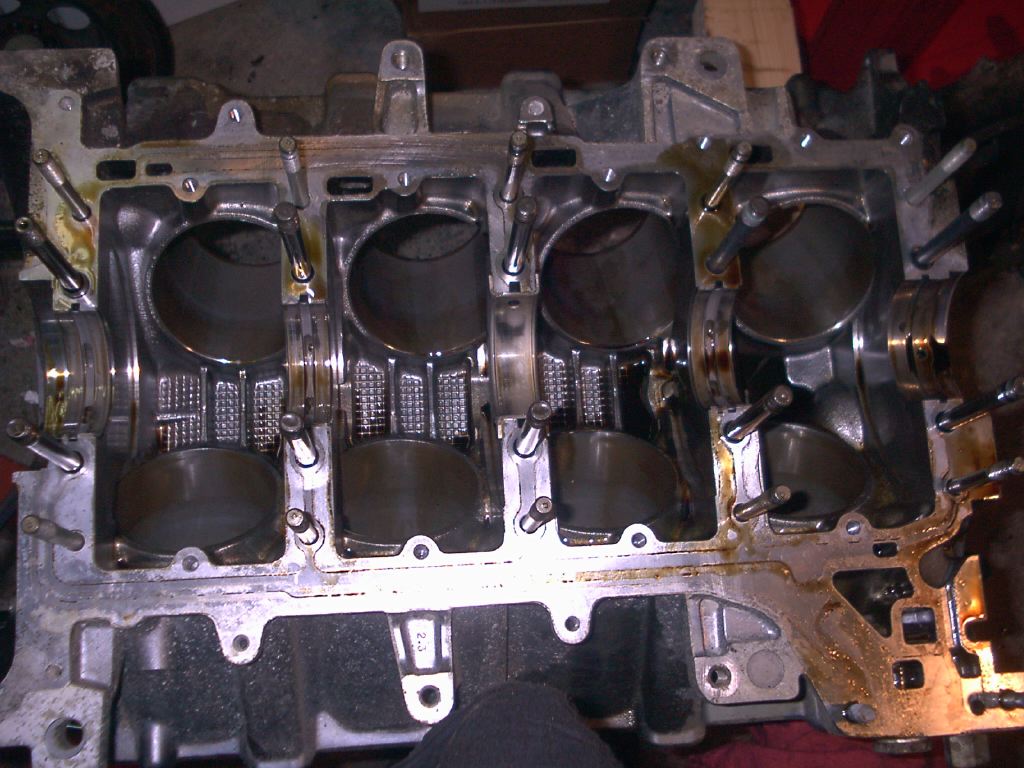
| That's about as bare a block as you can get! I guess I could remove the studs too.. |
|
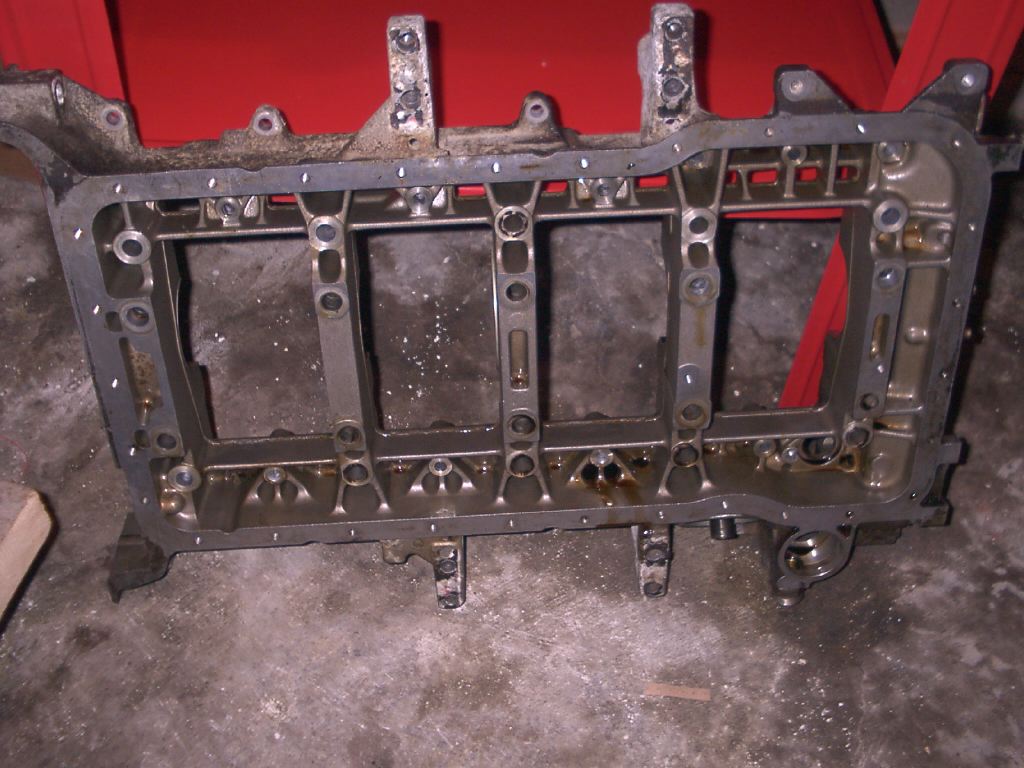
Here's the bottom of the lower crankcase. |
|
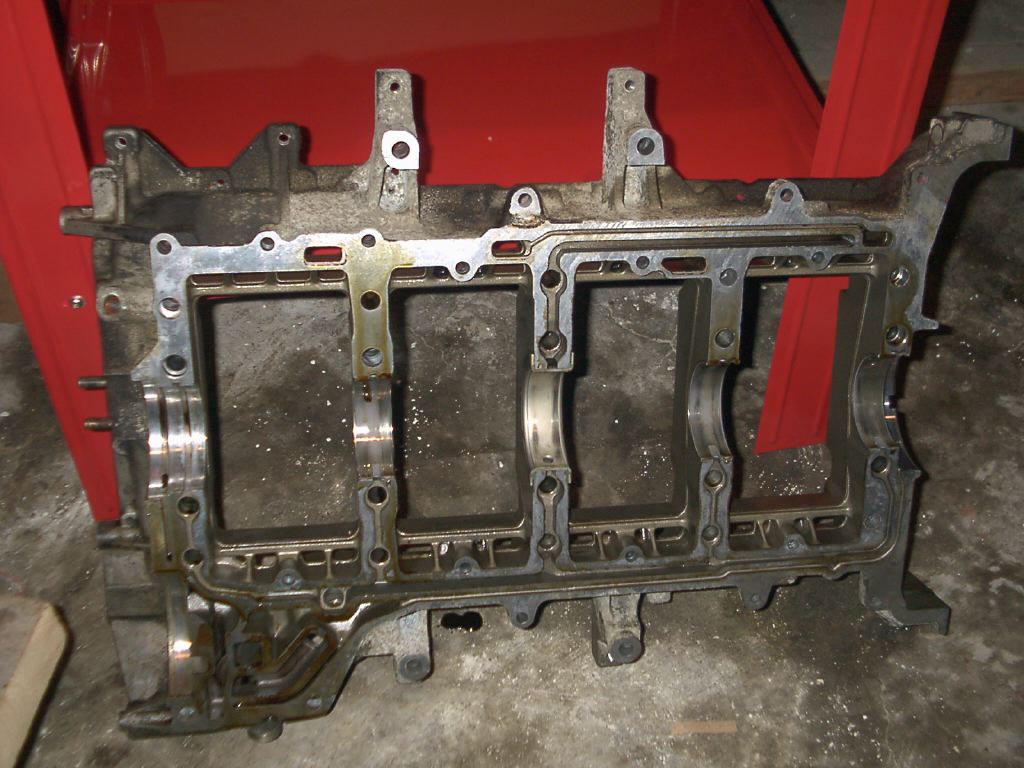
| This is the top of the lower crankcase. |
|
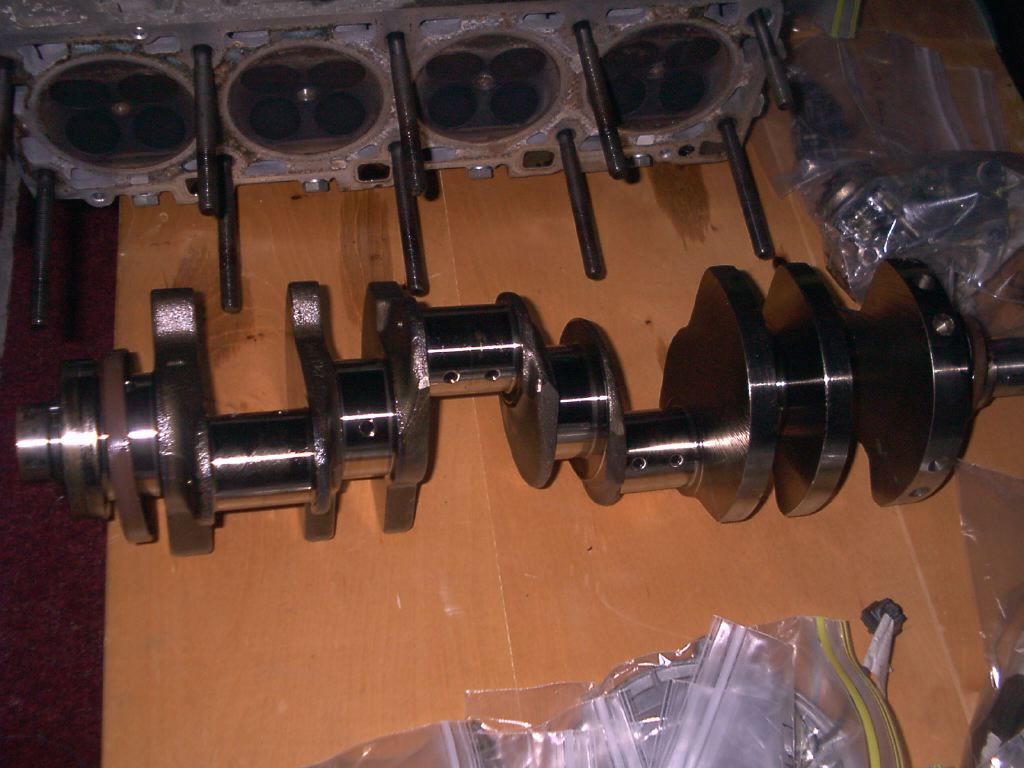
The crankshaft, freed from captivity. It is REALLY heavy! |
|
Text, photography and layout by C.S. Mo Copyright © C.S. Mo, All Rights Reserved Comments and suggestions to: randoma@vui.com